by Mariana Costa
April 23, 2025
Version 8.18
InScope-AML version 8.18 will start being rolled out to our cloud environments in April 2025. On-premise environments will receive these updates shortly after and may be updated along with previous versions.
Clients who have the Self-Service Portal (SSP) enabled on their system can now choose to activate a new feature that supports identity verification through biometric authentication and liveness checks for natural person customers. This also includes identification document verification.
This feature is powered by Veriff, an AI-driven identity verification platform that enhances Know Your Customer (KYC) onboarding and ongoing monitoring processes.
Currently, InScope-AML offers Veriff’s fully automated AI verification service, which does not involve manual reviews by verification specialists.
When a system user sends an SSP request to a natural person, a few things can happen:
When users log in to the SSP, they are first directed to a Document Verification screen.
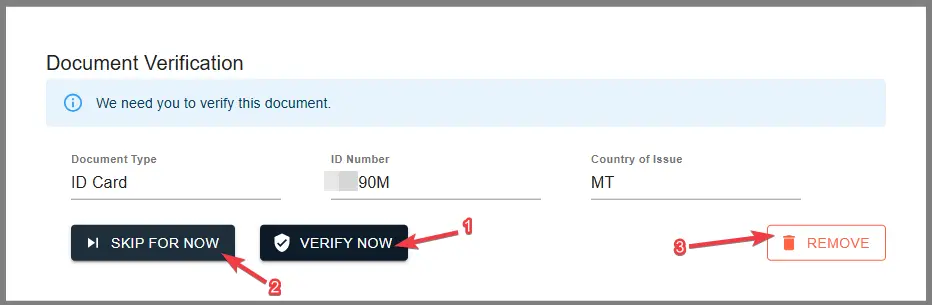
Here, the SSP user has 3 options:
Clicking Verify Now opens the Veriff window. Users must scan a QR code with their phone to initiate the verification process.
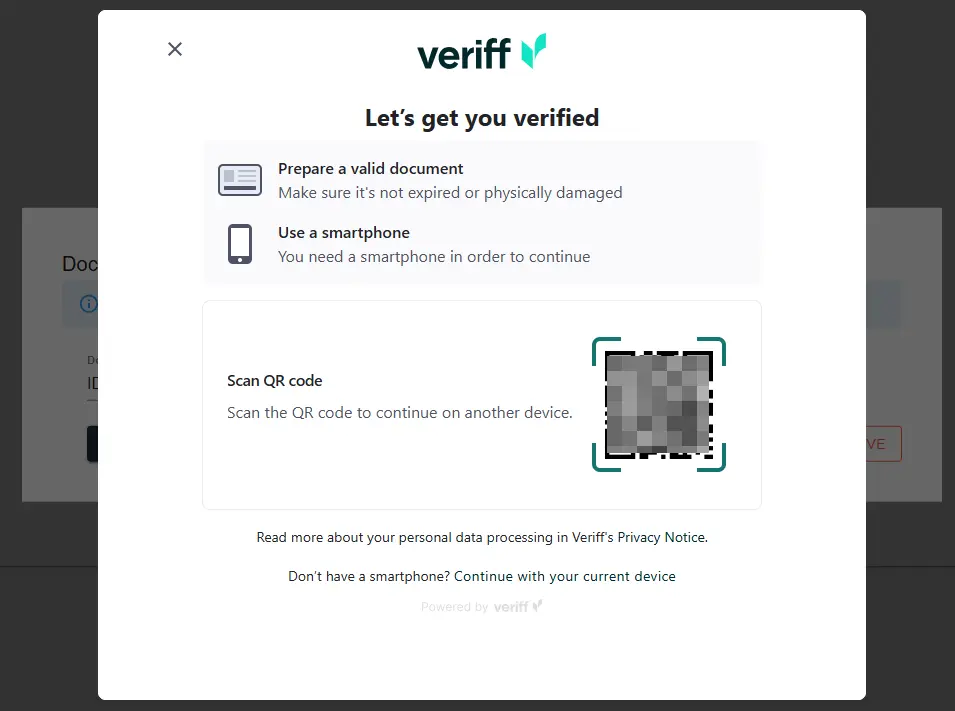
Once the QR code is scanned, the user will be instructed what to do on their phone to proceed with the verification process. Important to note, that they need to allow access to their camera in order to proceed.
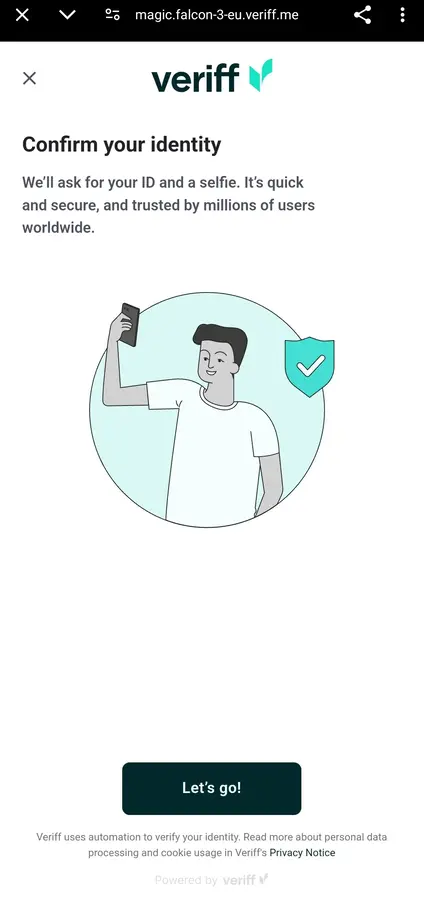
If the document being scanned by the SSP user has a front and back (like an ID card or driving license), the Veriff portal will ask to also take a photo of the back-side of the document.

Next would be the liveness and biometric authentication check.
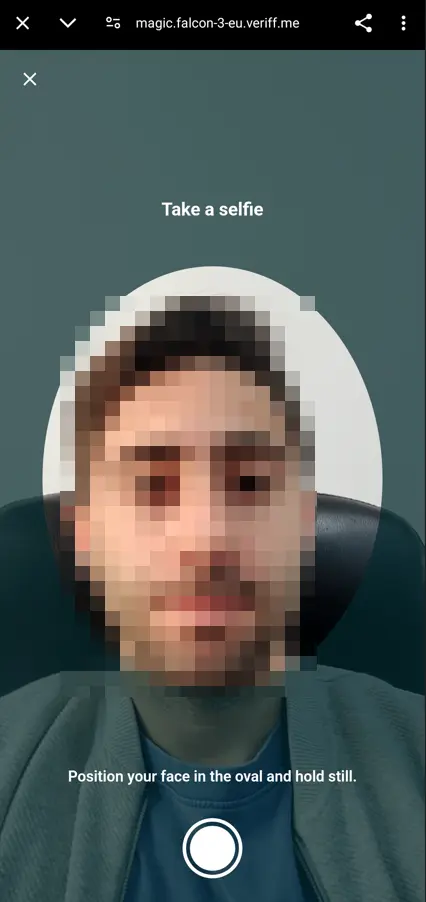
Upon completing this step, Veriff will confirm if the captured photo IDs and the face picture are clear enough to be accepted for verification purposes.
Upon completion, the user will see the below on their mobile device and can then proceed with the SSP form updates and submission accordingly.
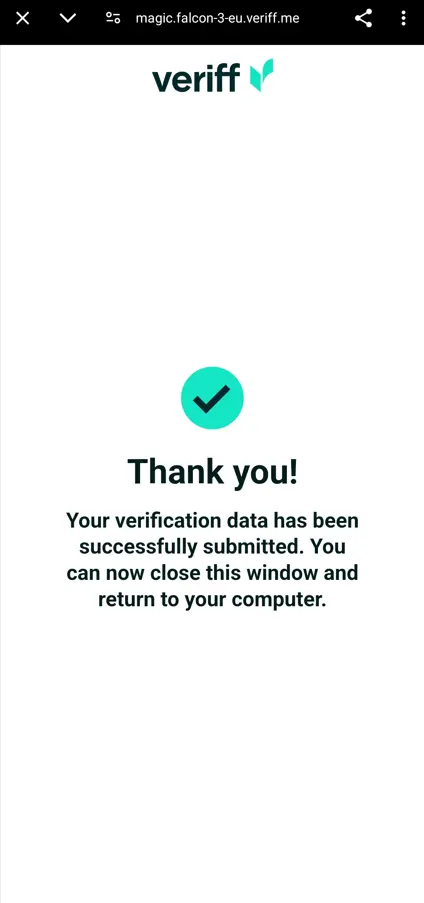
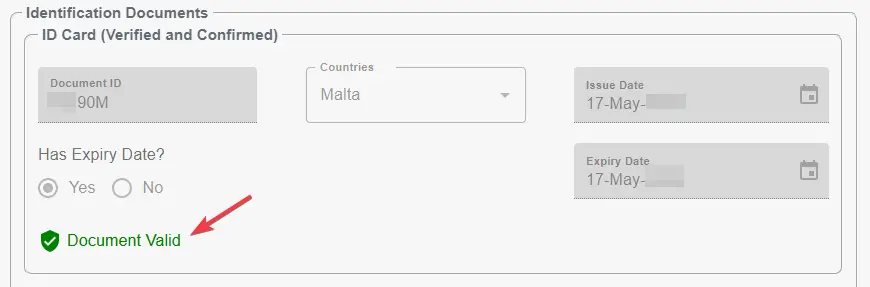
If an SSP user refreshes the portal screen, they would see a green “Document Valid” in the identification documents section. If not, Veriff will prompt to re-verify the document.
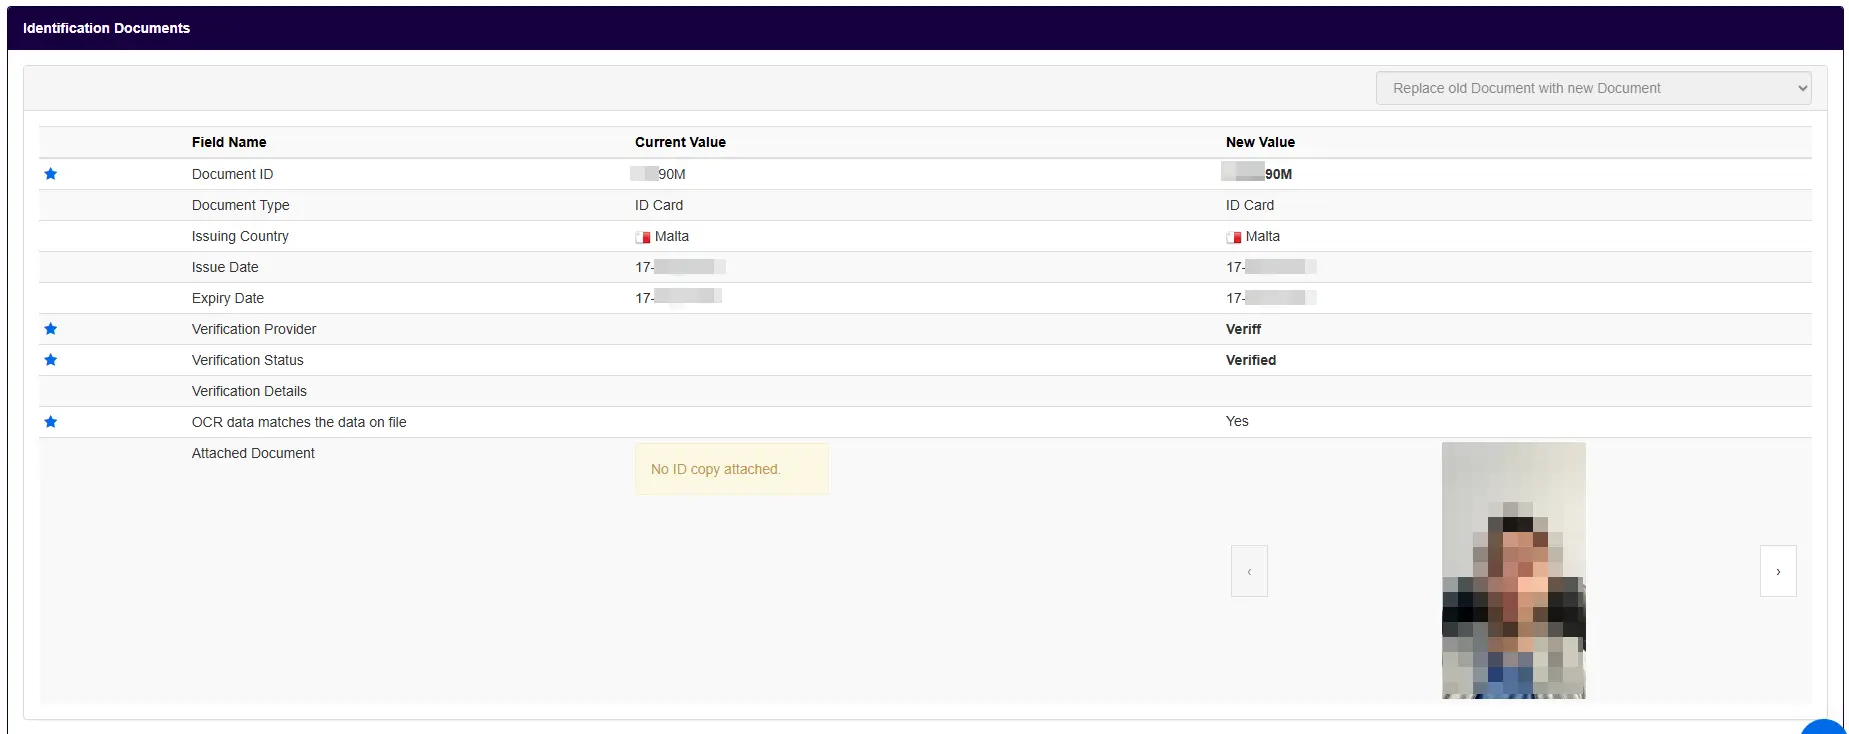
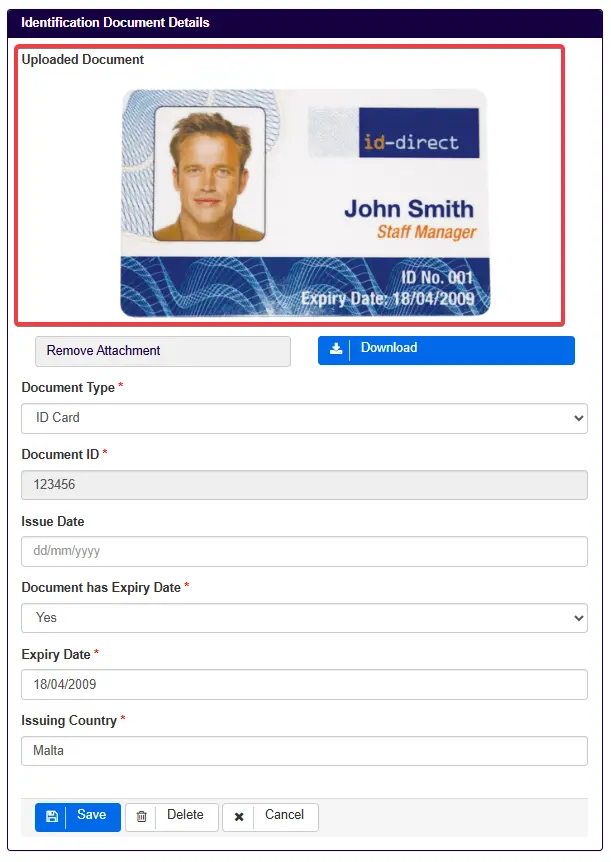
When a system user opens the SSP change request, they can see the information that have been OCR-extracted from the pictured ID document and it compares them to the existing data. The system user can also view the pictures taken of the ID document as well as the face picture taken during the verification process.
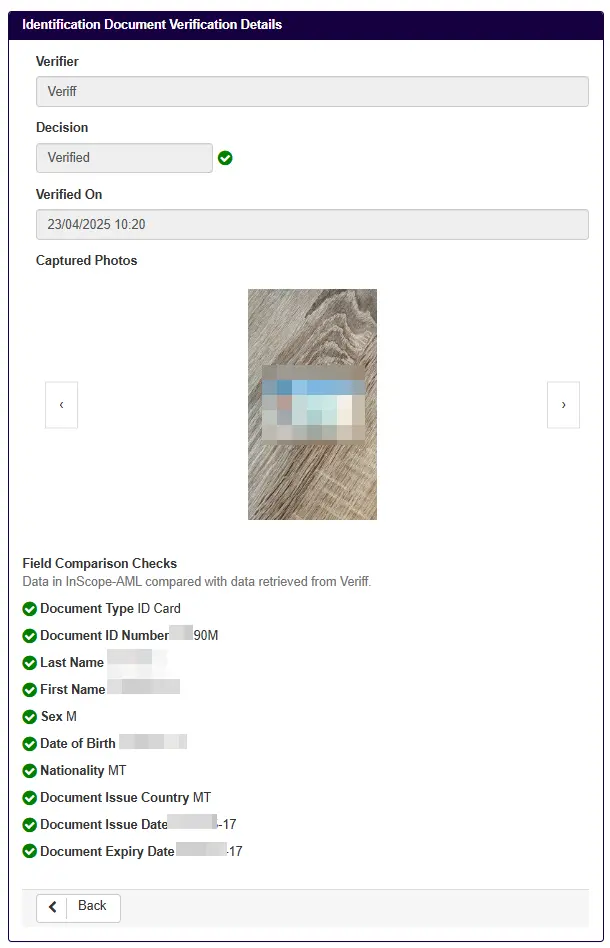
Once the SSP submission is approved, users can navigate to the Identification Documents screen to review all current and past verifications.
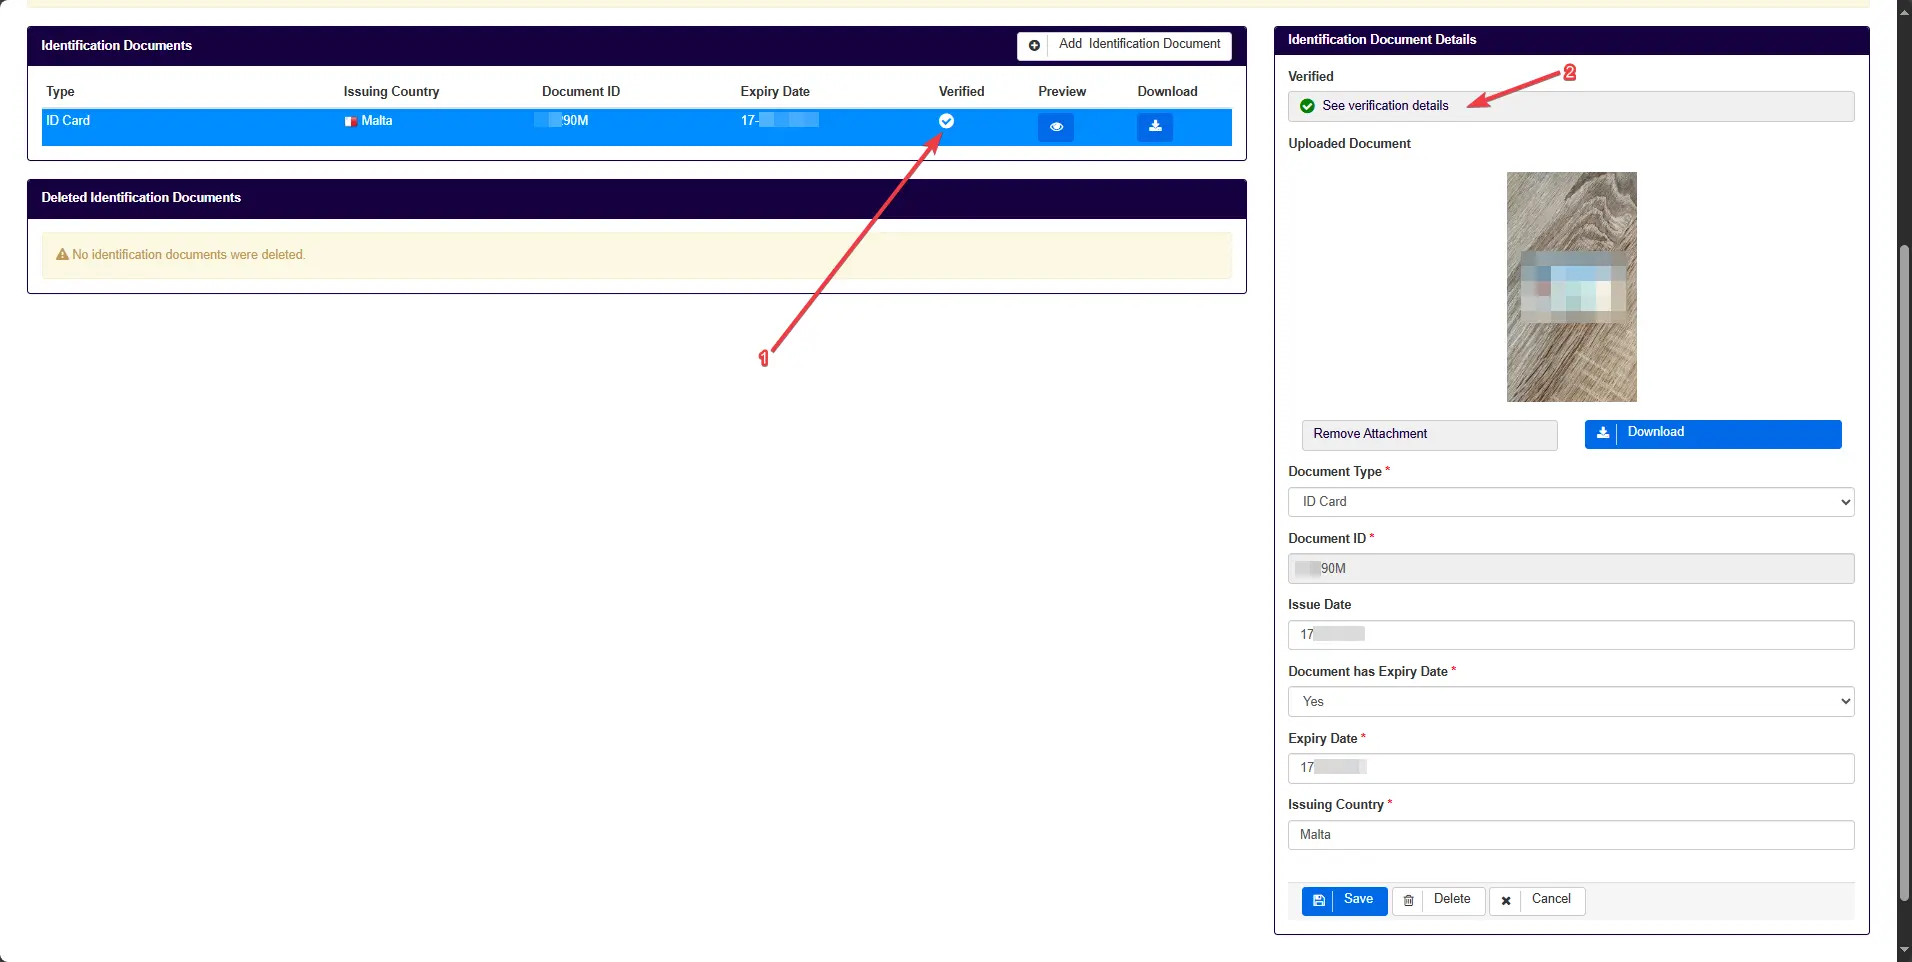
The green Verified icon (1) indicates two things:
A system user can delve deeper into the verification process by clicking on See verification details (2) which would then allow the user to view all the information associated with the ID verification process.
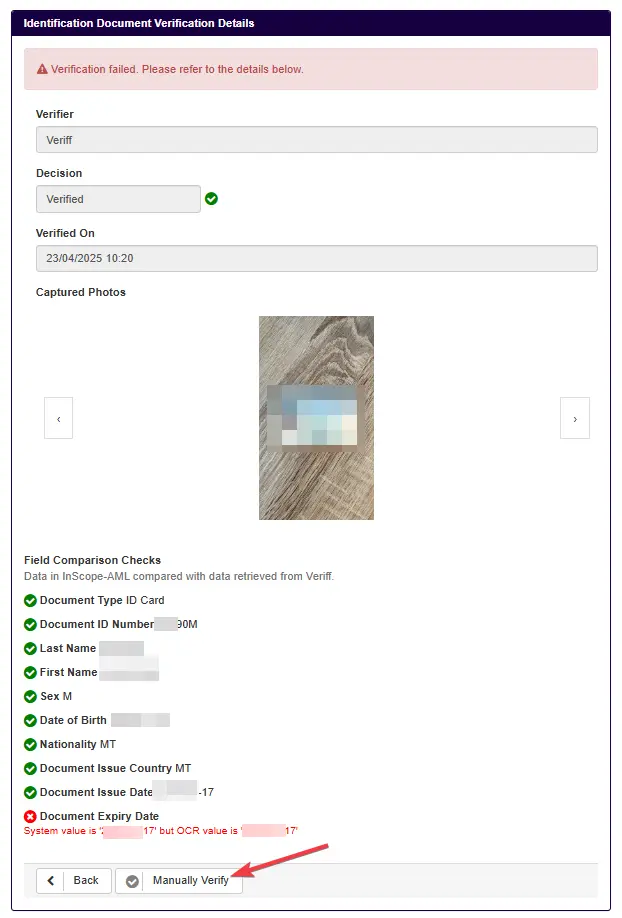
If in case, the document does not show up as fully verified as shown below, the verified icon will show in red.

In such cases, a system user can review the verification details in detail and provided they have the necessary permissions, they would be able to manually verify the documentation and pictures attached, by clicking on Manually Verify.
Once manually verified, the verified icon will show as a grey tick (as displayed below).

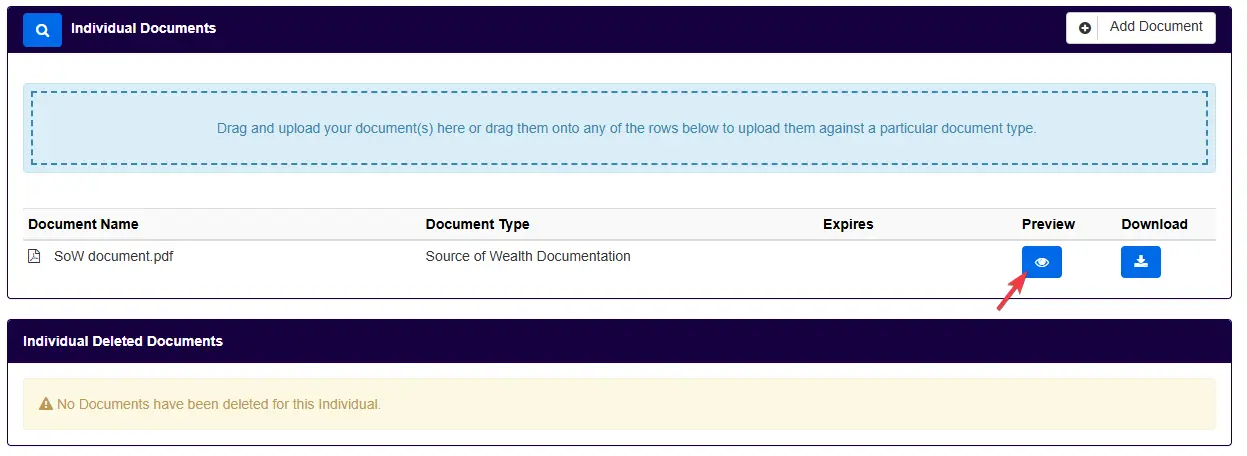
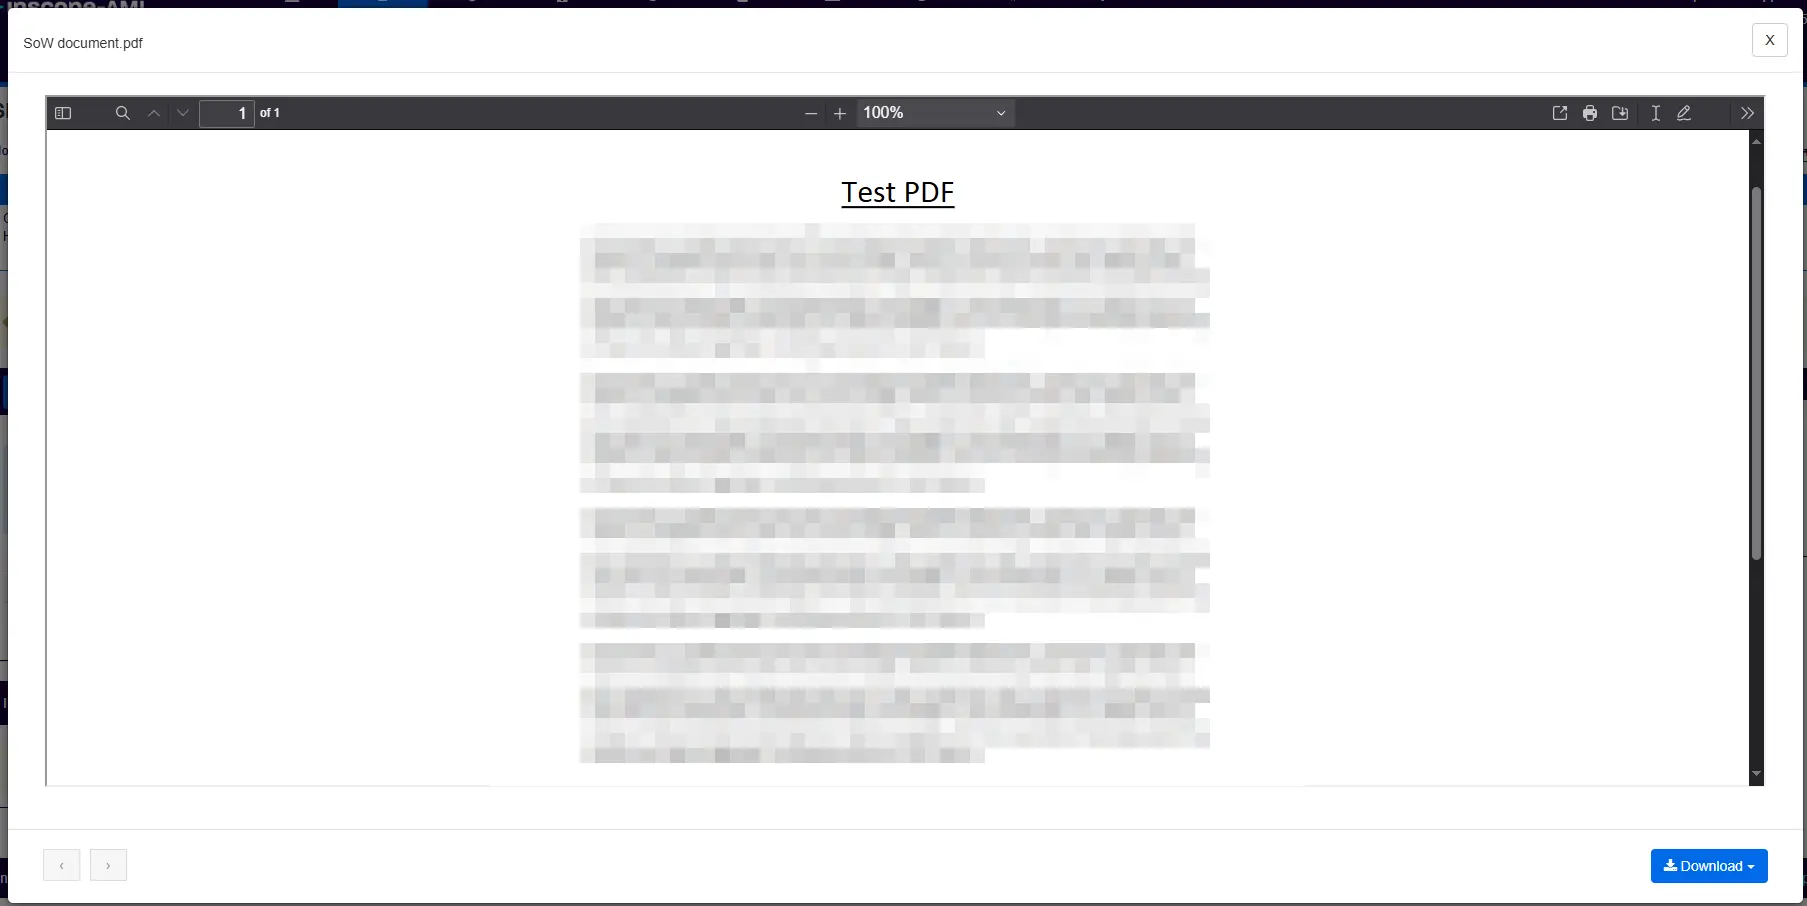
Documents uploaded to the system as images (such as jpeg, png etc.) or PDFs in the Identification Documents screen (for individuals) or in the Documents screen now include a preview feature, allowing users to view them before downloading. This functionality is available to users with the Download Entity Documents permission and those with System Administrator access.
In the case of documents being uploaded as .pdf, users need to click on the Preview button to bring up the document preview functionality.
A yellow banner warning will display at the top of the screen for all users when 90% of the InScope-AML license has been utilised. This would allow system administrators enough time to initiate communication with the InScope-AML team to upgrade their license accordingly.
A red banner warning will display at the top of the screen for all users once the license limitations have all been used up. At this point, unless an upgrade to the license is done, users will not be able to add new entities / transactions into their system.
The list of trust types has now been updated with new ones (marked with an asterisk) to:
Share this...
by Mariana Costa
October 31, 2024
Algeria, Angola, Côte d’Ivoire and Lebanon added to FATF Grey List